CRM & Organizer - customer service and work organization system in a company
This section will discuss features related to CRM system settings and organization in the company, focusing on three main areas: company groups, contact groups, and employment departments. Well-defined group names in the system facilitate finding companies or contacts and streamline work, e.g., it is easy to find companies providing selected services in order to send an inquiry.
Company Categories
The method of sorting and entering companies into the system, based on their specific groups, allows for an assessment of their functions and makes them easily findable on the list of entries. Standard names for company groups can include, among others, Supplier, Client, Subcontractor, and General Contractor.
Creating company categories is done in the following order:
-
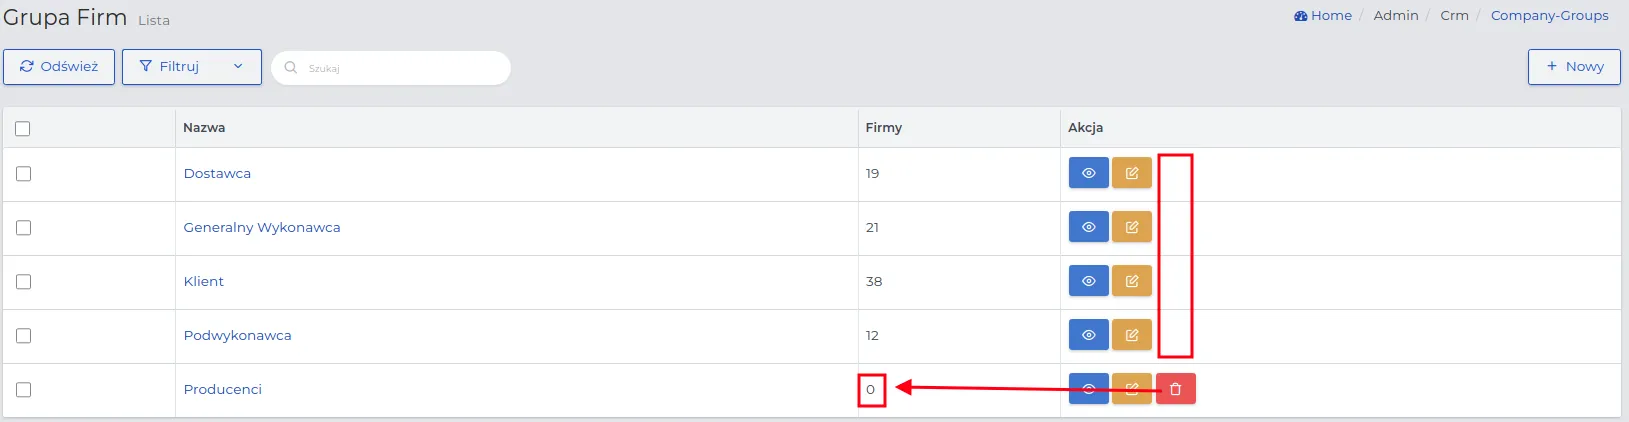
Go to the menu “Admin -> CRM & Organizer -> Company Groups” and verify the names of groups existing in the system.
-
Optionally create new company groups by selecting the “New” button and save them using “Confirm”.
REMEMBER: If you assign at least one contact to a given company group, you will not be able to remove that group from the list.
Contact Groups
In contact groups, in addition to the entered names of system roles, it is worth specifying individual names for contact groups, defining characteristics or behaviors, e.g., couriers, IT specialists, service technicians (if they are not our employees). The way you define their roles can help in later segregating records on lists to find them.
Creating categories of contact groups is done according to the scheme:
-
Go to the menu “Admin -> CRM & Organizer -> Contact Groups” and verify the names of groups existing in the system.
-
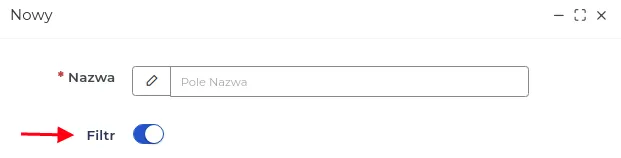
Create new groups by selecting the “New” button and save them using “Confirm”.
NOTE: The available “Filter” option in the form means that when creating a contact group, you can configure a filter. Thanks to this, the given contact group will appear on the “filter list”, the scheme and functionality of which have been described in detail here.
NOTE: If you assign at least one contact to a given contact group, you will not be able to remove that group name from the list.
Employment Departments
Employment departments define the nature of the job position to which an employee has been assigned. Department names can be further expanded with so-called brigades or subdivisions if a specific department requires such a division.
In Step 3, described in the “First Steps of Configuration” chapter, you conducted initial settings regarding employment departments. Now you can extend the list with additional department names, following the order below:
-
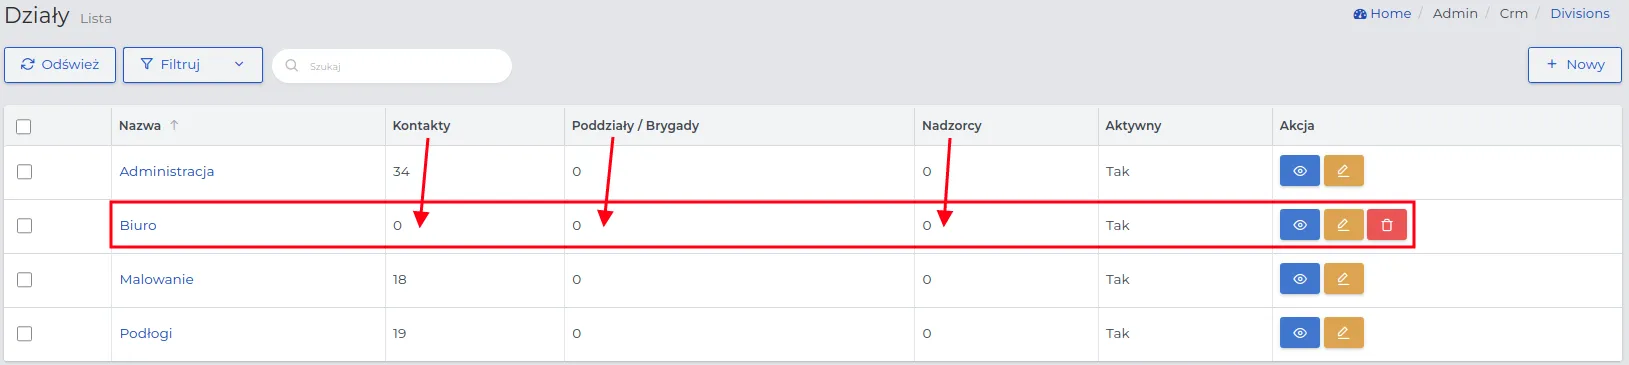
Select from the menu “Admin -> CRM & Organizer -> Departments” and use the “New” button to add another department name.
-
Fill out the form, paying attention to the meaning of the fields:
-
Name: Name for the newly created department
-
Supervisors: Selected from the list, the supervising employee who will be able to approve days off and requests submitted by employees belonging to this department.
-
Holiday accounting code / On-demand holiday accounting code / Sick leave accounting code / Paid public holiday accounting code: Accounting numbers associated with the given purpose, stored in the company’s accounting system. This function is generally not used by small and medium-sized companies.
NOTE: If an employee is to be assigned to a department, set the switch to “Active”. In the case of department liquidation, you can deactivate it by moving the switch.

- Save the data in the form by clicking the “Confirm” button.
REMEMBER: You can remove a department name from the list for which no other system records have been assigned.
Conference and Training Rooms
The “Conference and Training Rooms” section allows you to configure the names of rooms dedicated to meetings with clients and employee training at the company’s headquarters. Two meetings cannot take place in the same room at the same time. The system will not allow a second meeting to be booked in the same room in a time slot that overlaps with the first meeting.
Creating names for meeting rooms is done in the following order:
-
Select the “Admin -> CRM & Organizer -> Meeting Rooms” section and click the “New” button.
-
Fill out the form with the name of the room and save using “Confirm”.
NOTE: If you want the added name of the room to be visible in the meeting form, set the switch to “Active”. You always have the option to deactivate it by moving the switch in the opposite direction.
REMEMBER: You can remove from the list a room for which no meeting has been created. If there are meetings in that room, use the room deactivation function to prevent it from being selected for new meetings.